
The care journal · Scented wax
One Wax Object, Two Ways to Enjoy It
Many shapes, many colours, two ways to enjoy fragrance. Use your scented wax in a sachet, or melt a small piece at a time. Follow our illustrated guide.
Begin the ritualTwo ways to enjoyA breathable sachet. A little wax in a warmer.
Small object · Two rituals
A little sculpture.
A different way to scent your space.
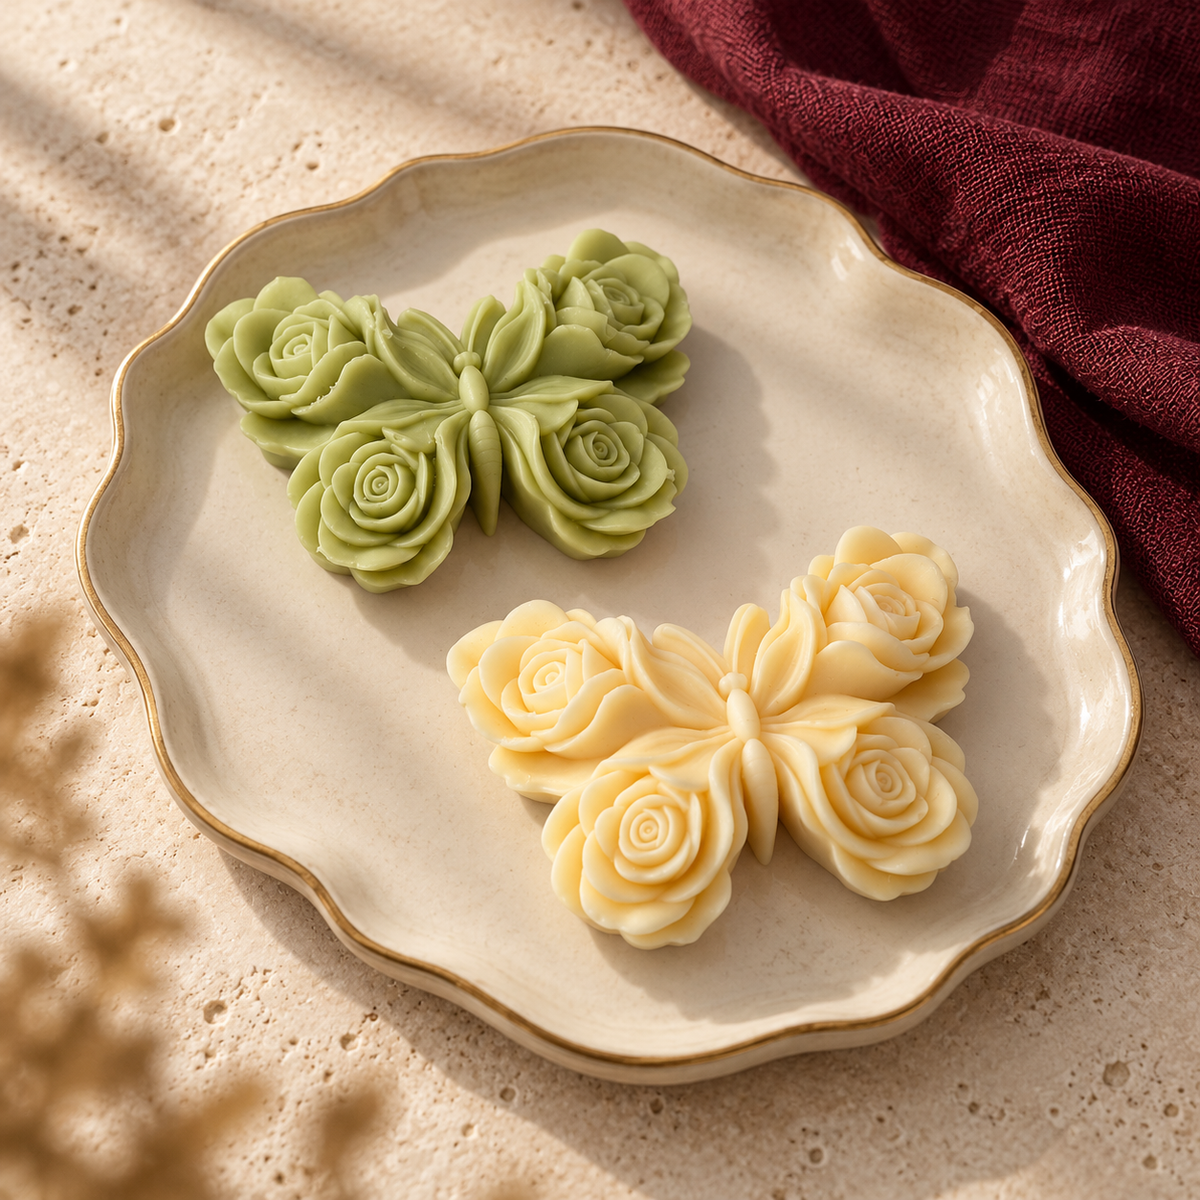
Scented wax comes in many shapes and colours. The rose-and-butterfly pieces pictured here are examples: the same two rituals apply to our other scented wax objects designed for both uses. Keep the piece whole in a breathable sachet, or break off a small amount for a suitable wax melter.
There is no wick. Do not light the wax directly or add a wick. Choose the unheated sachet for a wardrobe or a small room; choose a warmer when you want to enjoy the fragrance with gentle heat in an open, ventilated space.
Always follow the product label and your warmer’s instructions. These determine the suitable wax amount, heating time and safe placement.

The sachet ritual
Gentle fragrance.
No heat needed.
For a wardrobe, bathroom, toilet room or another small space, use the wax at room temperature.
-
01
Place it in a breathable bagRemove any outer wrapping, place the cool, intact object in a suitable fabric or organza sachet and close the drawstring. Handle delicate edges and decorative details gently.
-
02
Choose a dry, protected spotHang it securely with space around it, away from clothes, towels and painted or polished surfaces. Wax and fragrance oils can leave marks; a fabric bag is not a stain-proof barrier. If resting it down, use a separate non-porous dish.
-
03
Keep it cool and out of reachAvoid radiators, sunlight, splashes and steam. In a bathroom or toilet room, choose a dry position away from the sink or shower. Keep away from children and pets. Do not heat a sachet or place a working warmer inside a wardrobe.
“Keep the shape.
Or melt a little.
Let fragrance set the mood.”

Prepare a little
A small piece is the starting point.
Take the wax out of its sachet and remove all packaging, ribbons and non-wax decorations. Break off a small piece while the wax is cool, over a tray to catch crumbs. Do not force it with a sharp knife.
The whole sculpted object is not a single serving. Start with a small amount that your warmer permits, leaving room for the melted wax.

Warm with care
Only the wax belongs in the dish.
Use an undamaged, purpose-built wax-melt warmer with its correct heat-resistant dish. Place a small piece into the cool dish before lighting the tealight below. Our wooden melter is shown here; check its supplied instructions for the approved tealight size and maximum use time.
Never put the sachet in the warmer, add water or oils, or place wax directly on a heating element. Do not improvise a burner from a decorative lantern or an unsuitable holder.

Light below · Step by step
Light the tealight.
Let the warmth do the work.
With the dish correctly seated and a small piece of wax already inside, light the single tealight below as directed by the melter’s instructions. A long-reach lighter helps keep your fingers clear. Light the tealight wick only, never the scented wax in the dish.
Use only the specified tealight size and type. Keep the flame clear of the frame, stay nearby and observe the stated heating-time limit. Never add another tealight or a larger candle to speed things up.

Melt gently · Enjoy the fragrance
A little wax.
A welcoming scent.
The piece gradually softens into a liquid pool, releasing its fragrance into the room. Enjoy the aroma from a comfortable distance while you remain nearby. The scent itself is invisible; smoke or a scorched smell is a reason to stop, not a sign that it is working better.
Keep the dish still and do not touch, top up or move it while hot. When your session ends—or the maker’s time limit is reached—extinguish the tealight safely and let the wax and melter cool completely.
Six steps · The melting ritual
From a small piece
to a softer atmosphere.
-
01
Read and inspect
Check the wax label and warmer instructions. Use the correct dish and heating source. Stop if the dish, body, cord or plug is damaged.
-
02
Give it a clear space
Set the warmer on a stable, dry, heat-resistant surface in a ventilated room, away from flammable items, water, children and pets.
-
03
Add a small amount
Place a small piece in the clean, dry, cool dish. Stay within its stated capacity. Leave space below the rim; do not load the whole object.
-
04
Use the right heat
Operate an electric warmer as directed. For a purpose-built tealight warmer, use only the tealight type and size its manufacturer specifies. Never use multiple tealights or a larger candle to increase the heat.
-
05
Stay nearby
Observe the maker’s heating-time limit. Never leave it unattended or on while sleeping. Do not touch or move the hot dish, and do not add more wax while it is hot.
-
06
Stop, cool, then clean
Switch off the electric warmer, or safely extinguish the tealight. Let everything cool fully before handling. Remove old wax using the warmer maker’s method; never pour wax down a drain.
Your fragrance ritual
Enjoy the detail.
Choose the moment.
Keep your scented wax object whole for an unheated sachet, or enjoy it piece by piece in a suitable warmer. Store unused wax cool, dry and away from sunlight, food, children and pets.
AI-generated illustrations are based on our product photographs. The process images illustrate our own melter design; they do not replace the product’s operating instructions. Shapes and colours shown are examples. General warmer-care references: electric warmer instructions and wax and candle safety guidance. Always use the instructions supplied with your own products.
Continue through the Journal
A related thought, waiting nearby.


The conversation
How do you enjoy fragrance at home?
0 thoughts shared
Share your question about wax melts or scented sachets with the atelier.